Thursday, October 13, 2011

Starting a New Costume Project: Riven

This is somewhat last minute, but I'm working on a new costume for Halloween, just to see if I can make it that fast, given that my schedule over the next couple of weeks is fairly tight. Follow along with me on my project!

The first step is RESEARCH. I found two great pictures of the character online. Both resources are artwork for the videogame League of Legends. My preferred method of online searching for images is a Bing Images search.

The next step is to break down the costume into different elements. I find that making a quick sketch of the character helps me do this because while I am sketching I am examining the reference pictures I have and going over every detail to imagine a)how that piece should work/look and b)what I could make it out of.

Sometimes when you have multiple layers of clothing and accessories you have to use your imagination to decide what is underneath, and what is all one piece vs. separates.


Next, I make a timeline, creating a chart with separate row for each costume element and a separate column for each time period (here, each column is 2 days). Then I fill in what will do on each day. Later I will update by changing the cells to green and marking them DONE.
click to enlarge
Day 1: formed the pauldron spikes and knee guard out of Model Magic


Day 2: Draped the front of the wrap top


Then I made the underskirt for the wrap skirt.


Day 3: First I draped the bottom layer of the skirt and sewed it to the underskirt


Then I added another layer on top and ripped up the bottom in a few places. I'll need to distress it more later, maybe tea-stain it.


Then I added a back to the top and found a belt that works.


This almost looks like a costume already!

Oh, and I should mention -- I am not buying ANYTHING for this project. I think I can make it with materials I already have at home. That white fabric I used for the underskirt? Leftover from making Eowyn's white dress from Lord of the Rings, which I made back when the movies were still in the theaters. Tub of Model Magic? Leftover from making my [Staff of Infinite Mysteries] for my Warcraft Priest costume. The belt? Bought that a while ago for a pirate costume. It was on clearance.

Monday, October 10, 2011

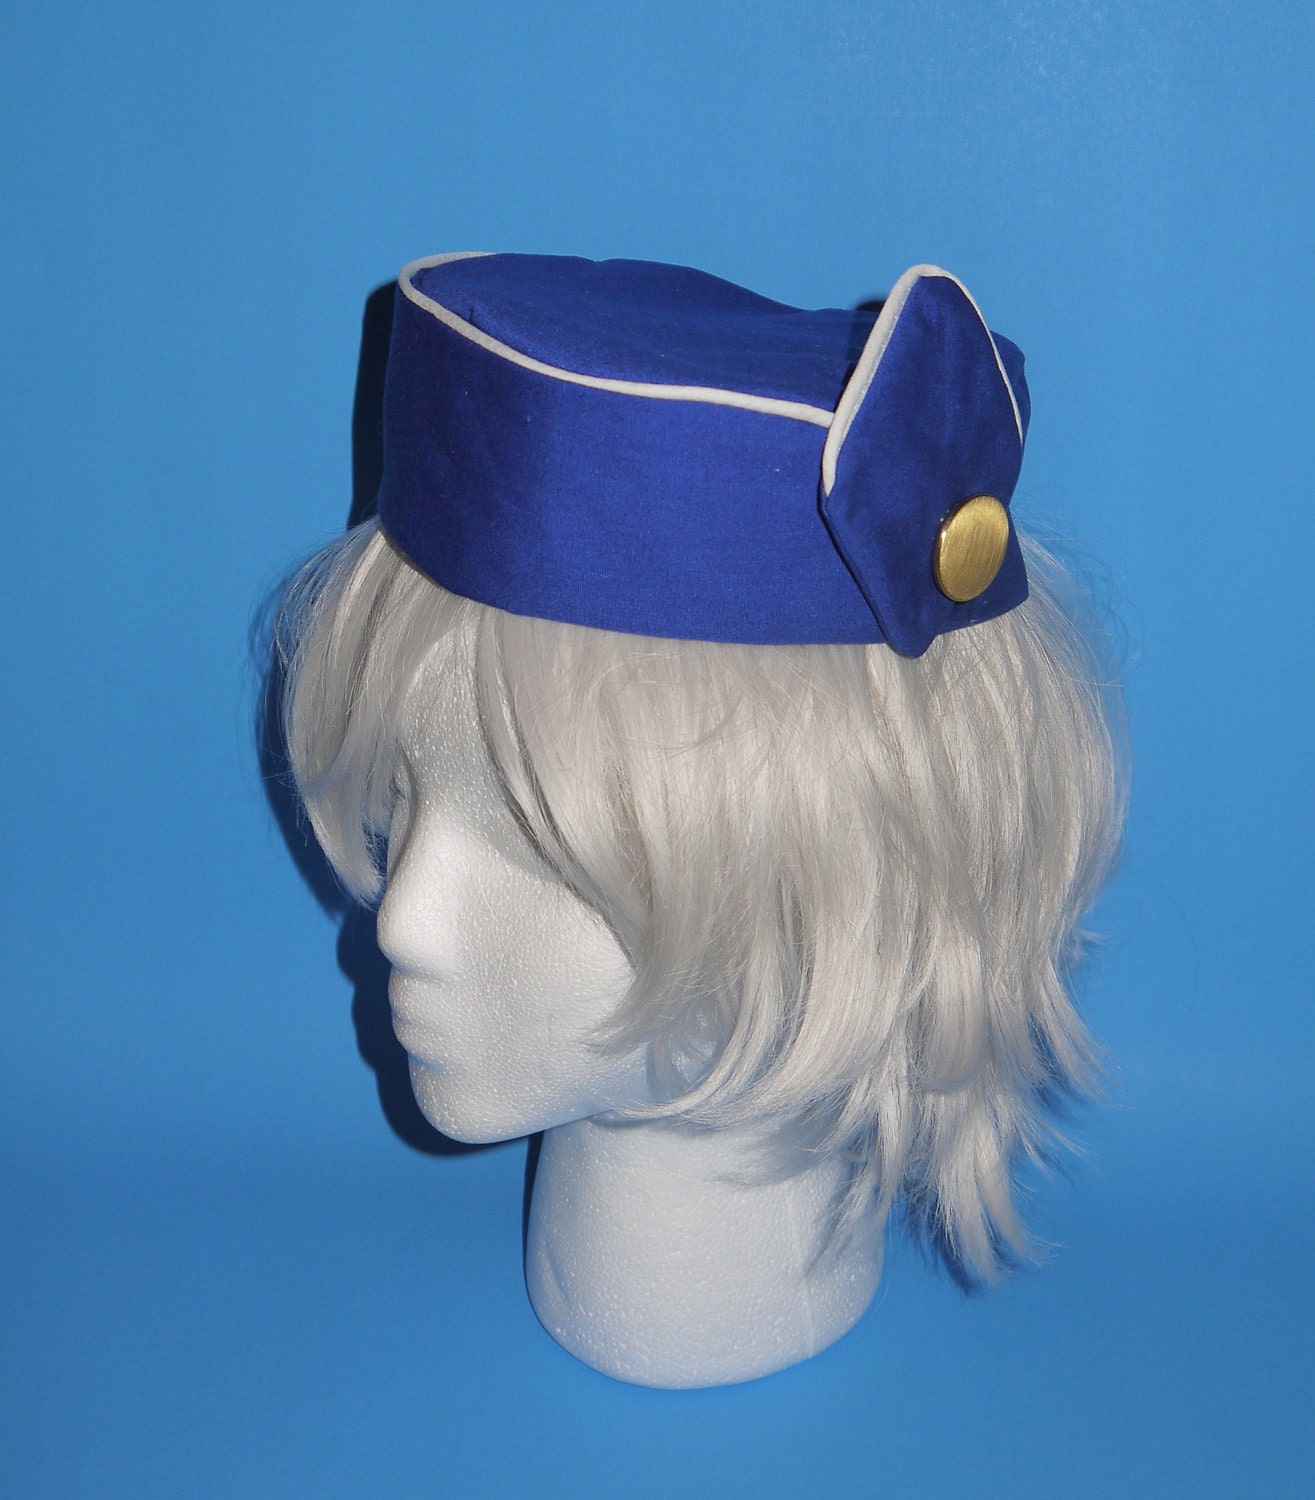
Pan Am Flight Stewardess Hat


I got an email asking if I could make this hat from the new show on ABC called  Pan Am, about the Airline stewardess of the 1960's for the Pan Am company.  For those who don't know I also own an Esty shop http://ThreeLace.Etsy.Com which is basically the Ebay of Hand made Art/Crafts/Stuff. 


Here's a picture of actress Christina Ricci wearing the lovely hat.  The Etsy requester provided this image as a reference.


On to making the hat.  I decided to make it a Pill Box style.  I watched the pilot episode and I noticed the back of the hat is curved down like a er um, i dunno, let's just say it's not pill box style.  But I think that a Pill Box style is easier to do and still gets the same front look. 

Circle for the pill box top, long strip for the pill box side. Diamond and a gold button for the fancy design on the side.  And the from I made a extra flap so that the front panel goes higher than the top surface (what's what i noticed on the show).


Although I picked a thicker fabric the structural integrity can always be improved.  I used Iron-On Interfacing to stiffen 


I dont have a serger, so instead i used that zigzag stitch to fake a serge.  Um as you can see I dont know the technical terms, does it show that I'm self taught?


Like I mentioned before, the front panel is higher than the top of the hat.  I also use it to hide the connecting stitches for the rim and the numbers I wrote (whoops it was suppose to be on the inside).


Using fabric glue I glued the front panel (even though sewn) so that it stays put and uses the fabric glue also to adhere the diamond to the side.  Sure I can do this by hand stitching, but the shortcut gets the same results in less man hours.

Wednesday, October 5, 2011

Going to be at Geek Girl Con!

Both Avalyn and SmallRiniLady will be Geek Girl Con.  The convention is "dedicated to promoting awareness of and celebrating the contribution and involvement of women in all aspects of the sciences, science fiction, comics, gaming and related Geek culture through conventions and events that emphasize both the historic and ongoing contribution and influence of women in this culture. We are having our first annual convention on October 8th and 9th at the Seattle Center Northwest Rooms in 2011." for more details please visit the Geek Girl Con website http://www.geekgirlcon.com


Avalyn and SmallRiniLady will be presenting  a costuming panel
Costume Crafts and Cosplay
11:00 AM-12:00 PM - (EMP Learning Labs)
Is it cosplay or costuming? Crafters In Disguise bloggers discuss costume craft from cosplay and costuming perspectives, including differences and similarities between the two. Get tips on techniques, materials, how best to approach a project, manage the design process, accuracy, and how to pose to bring your character to life.

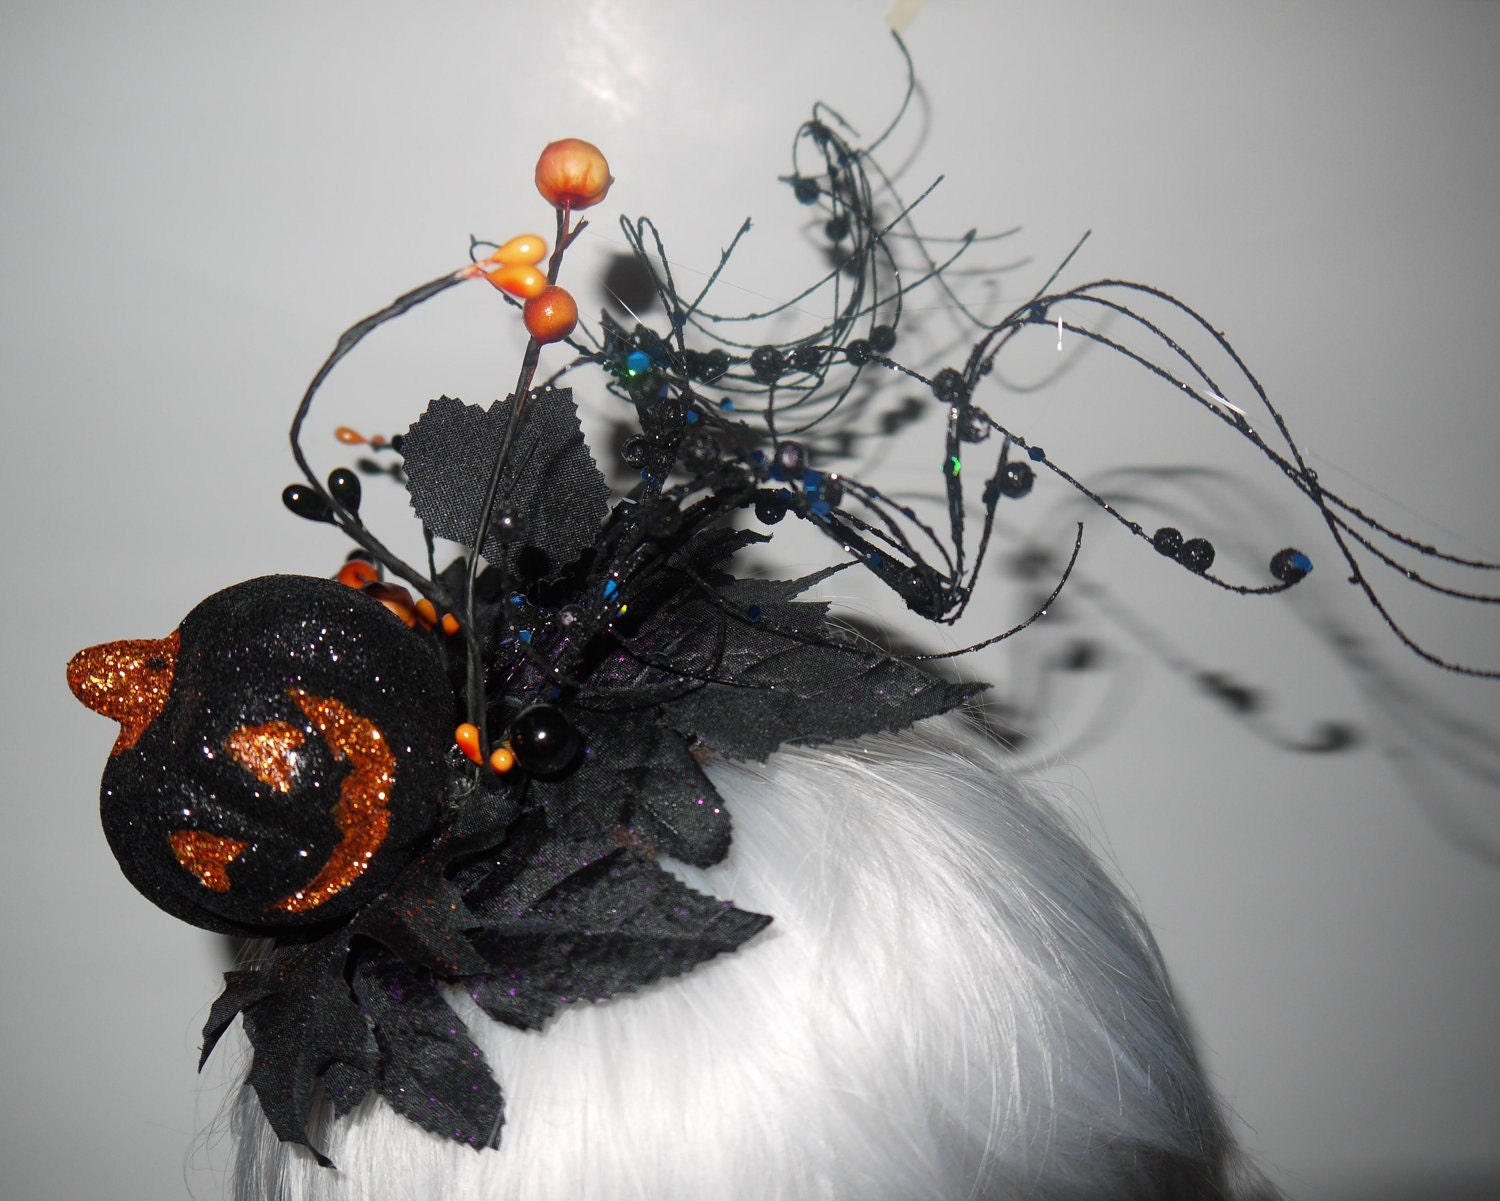
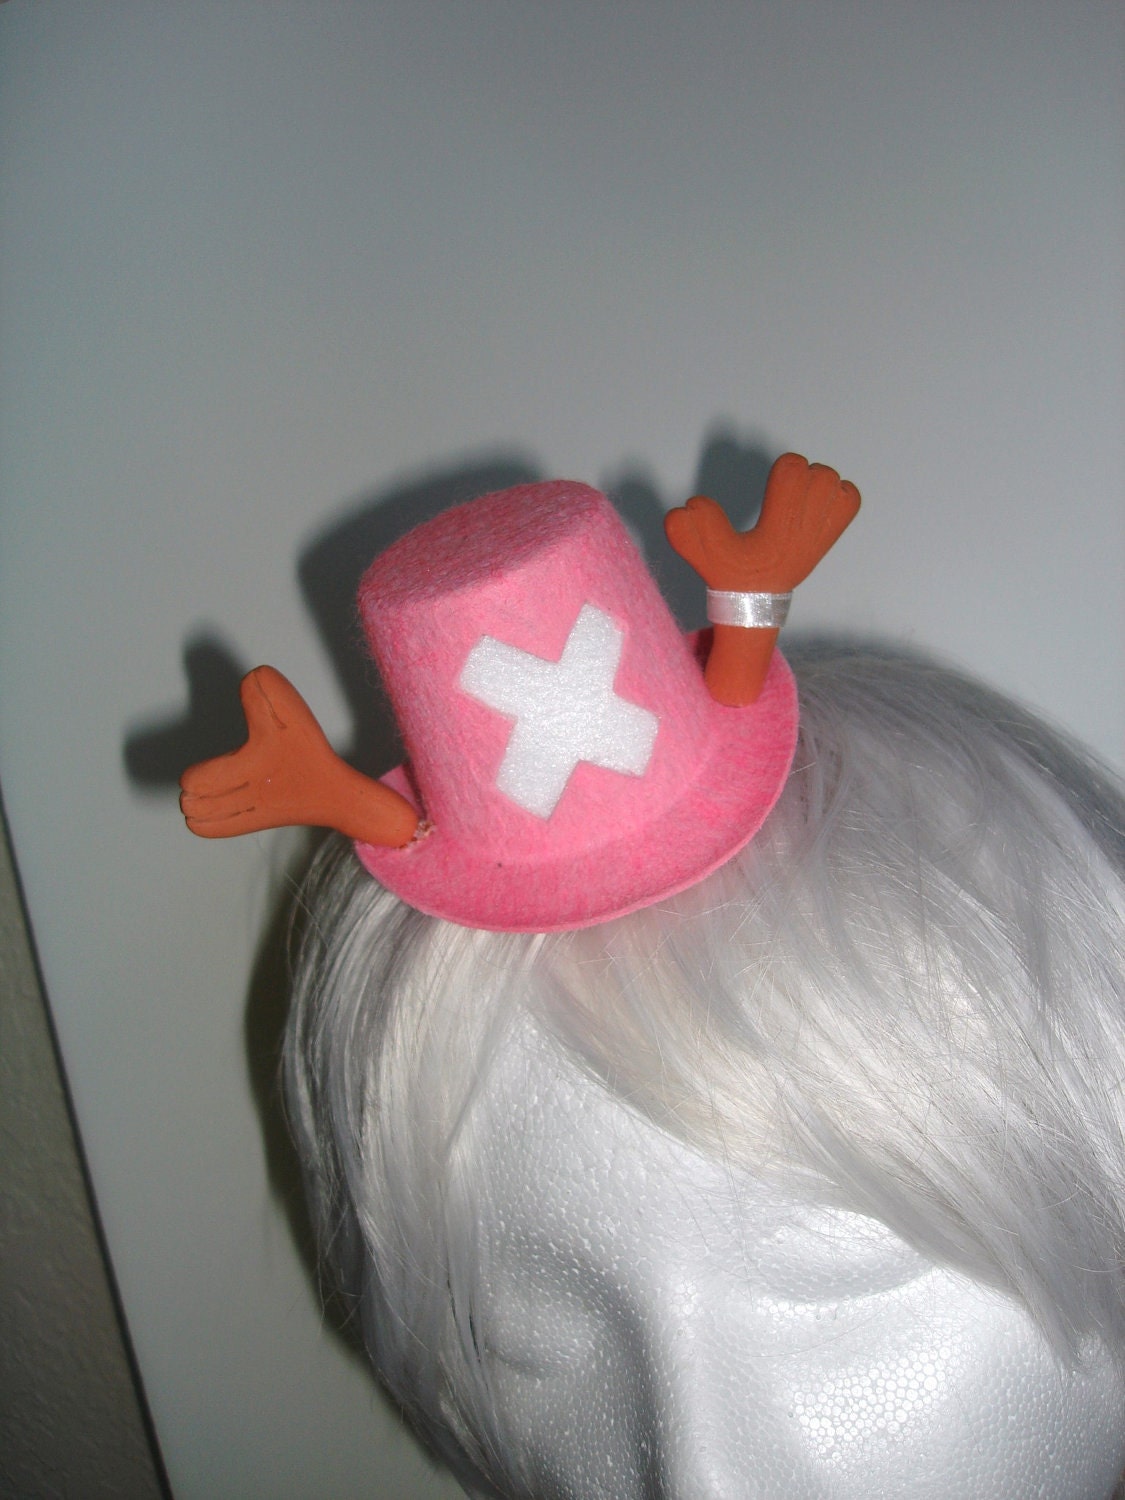
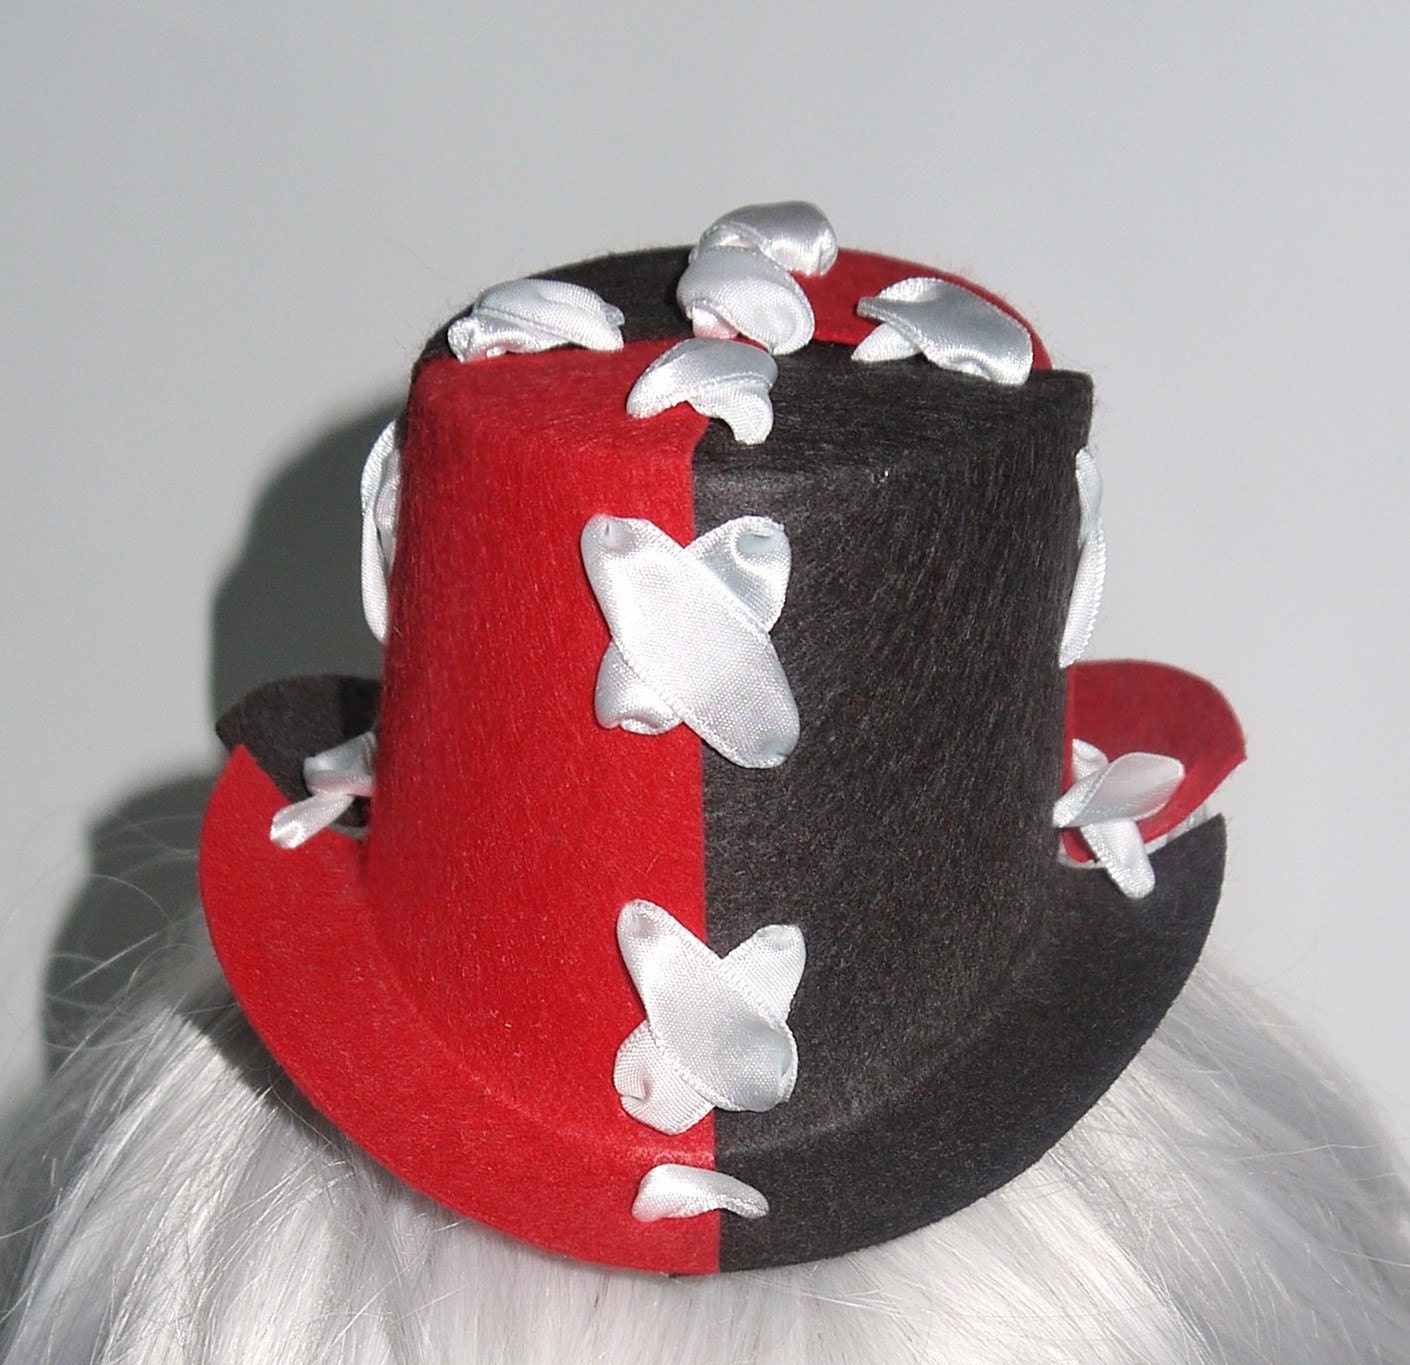
SmallRiniLady will also have a Artist Alley Booth for her Mini Hats, Hair Fascinators,  and Cosplay Accessories LollyMist Etsy Shop

Friday, September 30, 2011

A Pattern-Free Hood for a Fantasy Cloak

Whether you are making a Jedi robe, Hobbit cloak, Mistcloak, Handmaiden robe, or a hooded cowl worthy of Death Himself, you need to make an epic hood. There's nothing more pathetic than a cloak with a dinky little hood that looks like it came off a hoodie. Am I right?
my Jedi Barriss Offee costume from Star Wars
Well the good news is, it is SUPER EASY to make a really cool hood. You don't even need a pattern!
Here's what you need:
- Cloak fabric (a piece about 45" x 45") - suedecloth works great for cloaks
- Interfacing (sew-in, thick stuff like for lapels and collars) - a strip about 3" x 12"
- Measuring instruments (a cardboard grid mat works great, or use a square edge and ruler)
- Chalk
- Needle and thread/sewing machine

Step 1: Make a Square!
Cut a big 45" x 45" square out of your fabric
This hood will use the fabric as the lining as well. If you want lining, cut two rectangles, then sew them together to make a 45" x 45" square. If it's a 40" x 40" it should be fine. I like to start big because it is very easy to trim it down if your hood ends up too big, but the original version of this pattern used 50" x 50" and I found that to be ridiculously large. For a kiddie cloak you just need to start with a smaller square, or do a lot of trimming!

Step 2: Origami!
Fold your fabric square in half, keeping the good side of your fabric on the inside. With chalk, draw a X on the top piece of fabric (on the wrong side of the fabric) - this side is your "lining".
If you used a different lining fabric, your first fold should be on the sewn line separating the two fabrics. Lay the fabric with the lining on top and fabric on bottom with the right sides of both fabrics inside.
Now fold the rectangle of fabric in half again, creating a square. Now your "lining" will be on the outside and your "fabric" will be on the inside.
Step 3: Orient yourself and make a curve.
Look at your fabric square. One edge will have one fold - this is the "top" of the hood. Orient your square so the side with one fold is farthest from where you are sitting (or standing).
One edge will have two folds - this is the "front" of the hood. This edge should be on your left-hand side (you may need to flip the square over from right to left to re-orient it, keeping the "top" of the hood as the farthest side away from you.)
The other two edges of your square will be the selvages or raw edges of the fabric. The side closest to you - opposite the "top" of the hood - is the bottom edge which will eventually be attached to your cloak. You can clip small notches on this side if it helps you orient yourself.
The side on your right is the "back" of the hood. This is the side that we need to sew.

Using chalk, draw a rounded curve to indicate your sewing line, starting in the top center, curving the upper right corner (upper back) of the hood, and continuing straight down an inch from the right side to leave a 1-inch seam allowance. Trim the excess fabric and add a notch in the middle of the curve to help when you need to pin prior to sewing.


Open out the hood; the shape should now look like this (if it doesn't, you clipped the wrong curve!):


4. Interface the front
I like to add interfacing into the front of the hood in order to give it a stiffer curve over my face. This step is optional. Make sure you add the piece of interfacing to the lining so your stitches do not show. The interfacing piece should be placed in the center of the fabric on the lining side below the center fold line.


5. Sew the curve
Fold the fabric in half down the middle (fabric to fabric, lining to lining). Pin the layers together and sew both curves. Remember to start in the top center - do no sew the entire top edge, but you WILL sew the entire back edge.

6. Flip out
Press your seams open after sewing, then flip the hood right-side-out. Press the front edge of your hood, then try it on! Now is the time to resize it if it is too big. Just sew a new curve inside the curve you already created.

7. Attach to cloak
Now you can attach your hood to your cloak! If the bottom edge of the hood is longer than the top neckline of your cloak, simply add symmetrical pleats on both sides of the hood (I usually keep the pleats along the back).

the back of my finished Mistcloak.
If your cloak does not have lining, you can create a wide piece of biase tape from the remnants of your cloak fabric, double-fold it and use it to cover the rough edge of the seam between your hood and cloak neckline, otherwise it will show when your hood is down.

my Handmaiden costume from Star Wars
I have used this hood-making method for my Barriss Offee Jedi cloak, my Mistcloak and Handmaiden cloak. This is a proven method that totally works! Go try it!